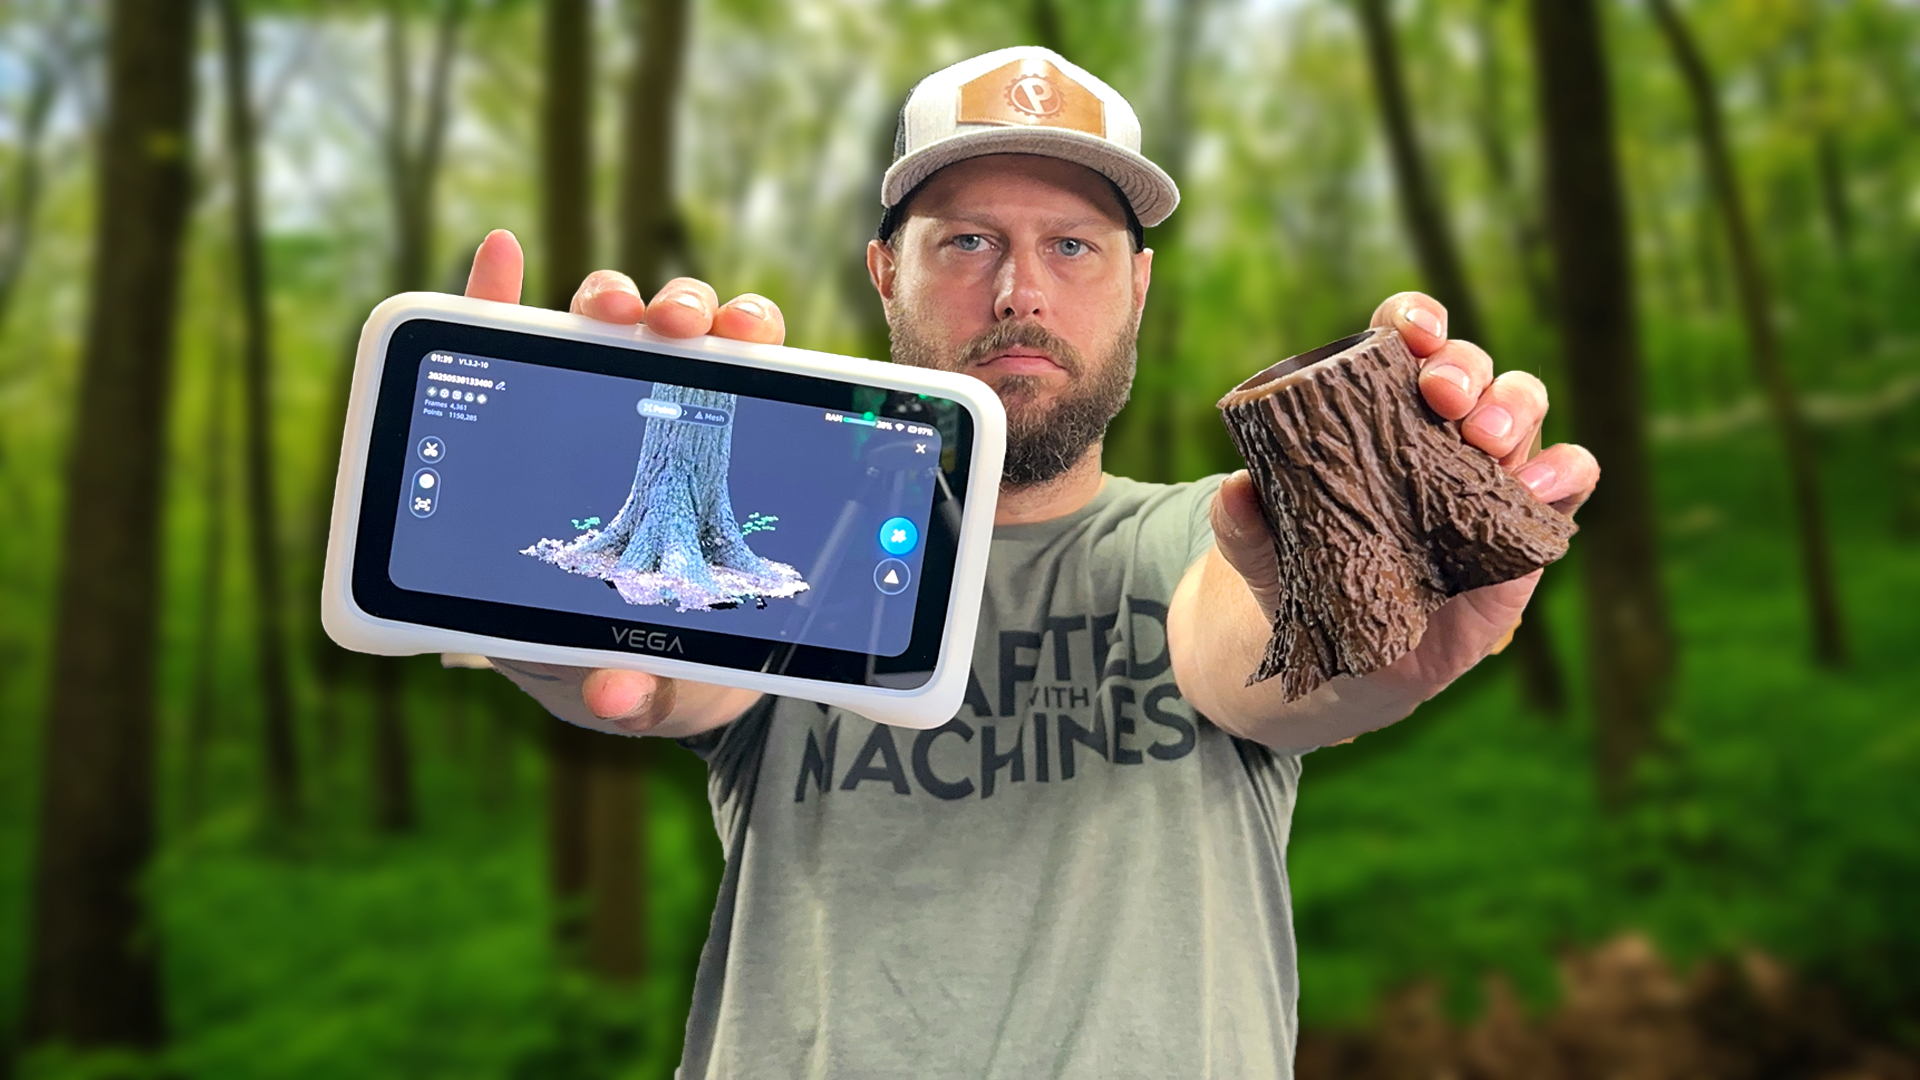
Duplicating an object with the push of a button sounds like science fiction, but 3D scanning kind of makes it a reality. In this post, I’ll show how the Einstar Vega 3D scanner allowed me to create custom storage solutions for tools—and why this technology can transform your workflow.
Why 3D Scanning?
3D scanning captures real-world objects and converts them into digital models. Whether replicating parts, designing custom enclosures, or reverse-engineering products, scanning creates accurate 3D models efficiently.
For this project, I scanned Milwaukee M12 tools to design and 3D print custom storage trays. Instead of manually measuring and modeling, the Einstar Vega scanner produced precise digital replicas—saving time and improving accuracy.
Setting Up the Einstar Vega
Calibration ensures accurate scans. Einstar recommends weekly calibration, especially after firmware updates. The process uses a provided calibration board, and on-screen instructions guide the alignment process.
Key Takeaway: Regular calibration optimizes scan quality.
The Scanning Process
After calibration, I scanned a Milwaukee rotary tool. Stable positioning enhances scan accuracy, so I used a lazy Susan to rotate the tool smoothly while keeping the scanner stationary.
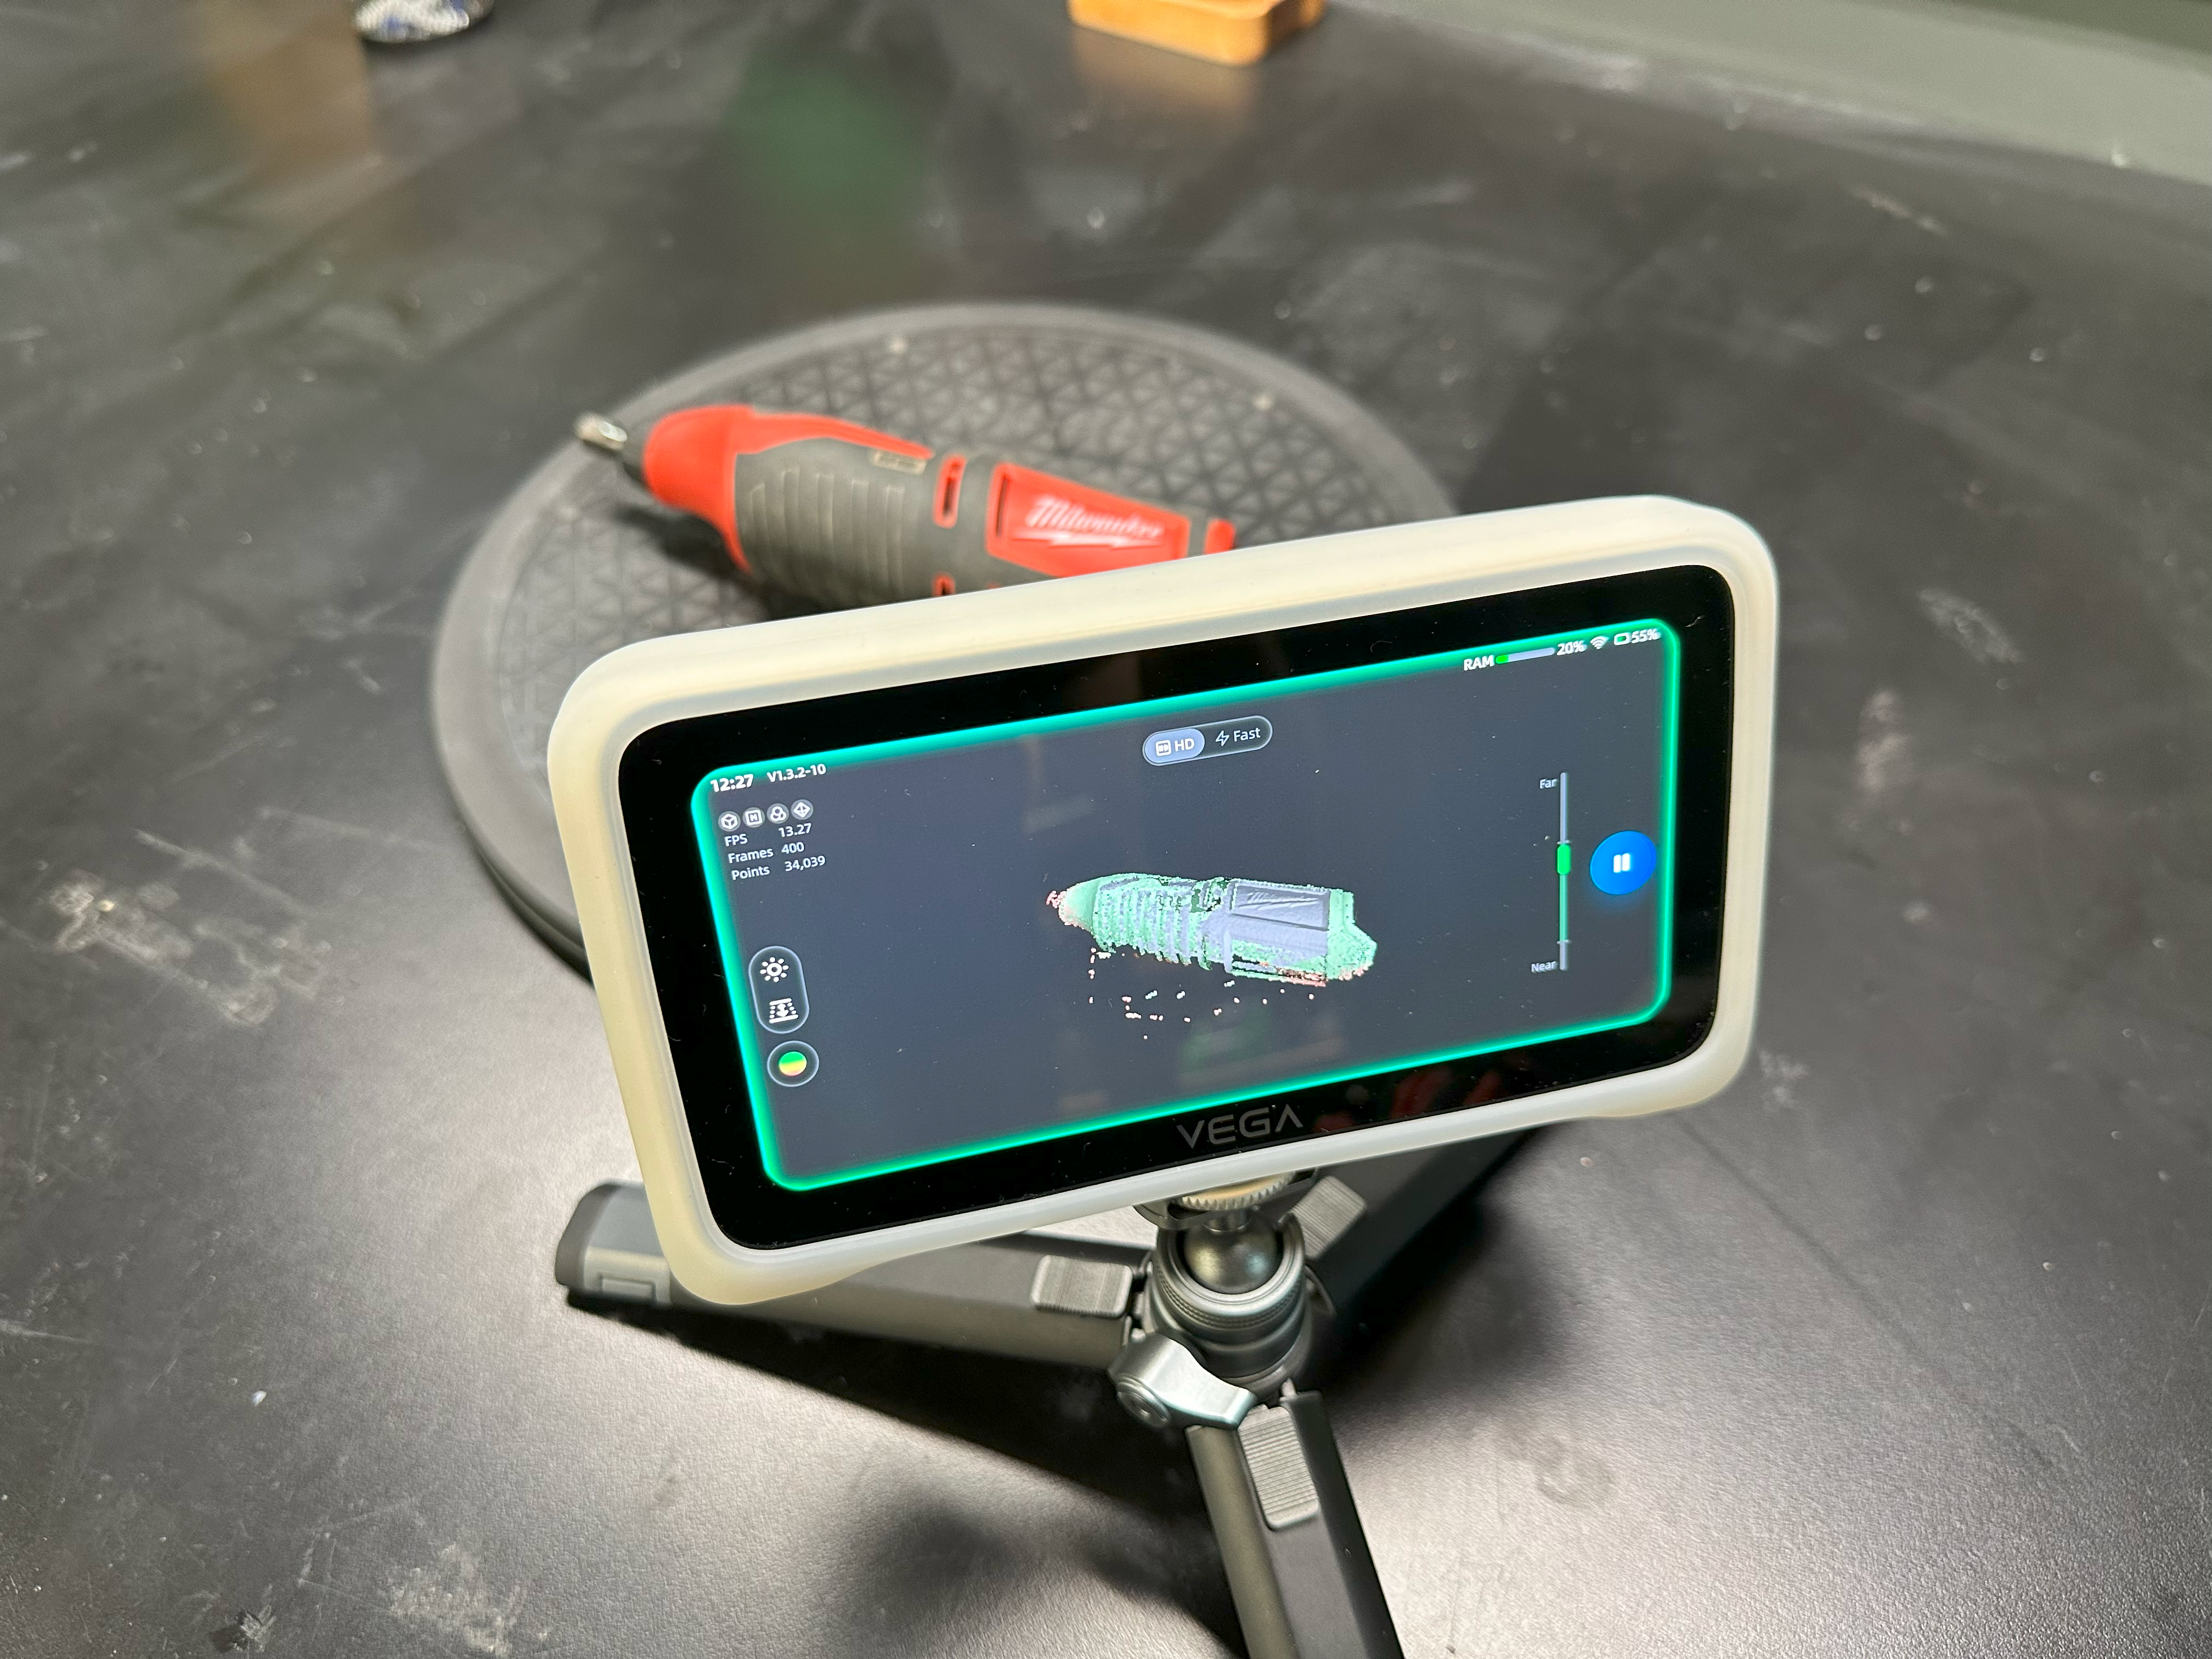
Choosing the Right Mode
- HD Mode: Captures fine details (ideal for this project).
- Fast Mode: Suitable for larger objects needing rough scans (I use Fast Mode a lot for scanning people).
Rotating the tool revealed scan quality:
- Green areas indicated complete data.
- Red areas signaled missing or poor data.
To fill gaps, I flipped the tool and scanned from additional angles. If the scanner lost tracking, backtracking slightly helped it regain reference points.
Pro Tip: Adjust exposure settings when scanning dark or reflective surfaces to improve data capture.
Turning the Scan into a 3D Model
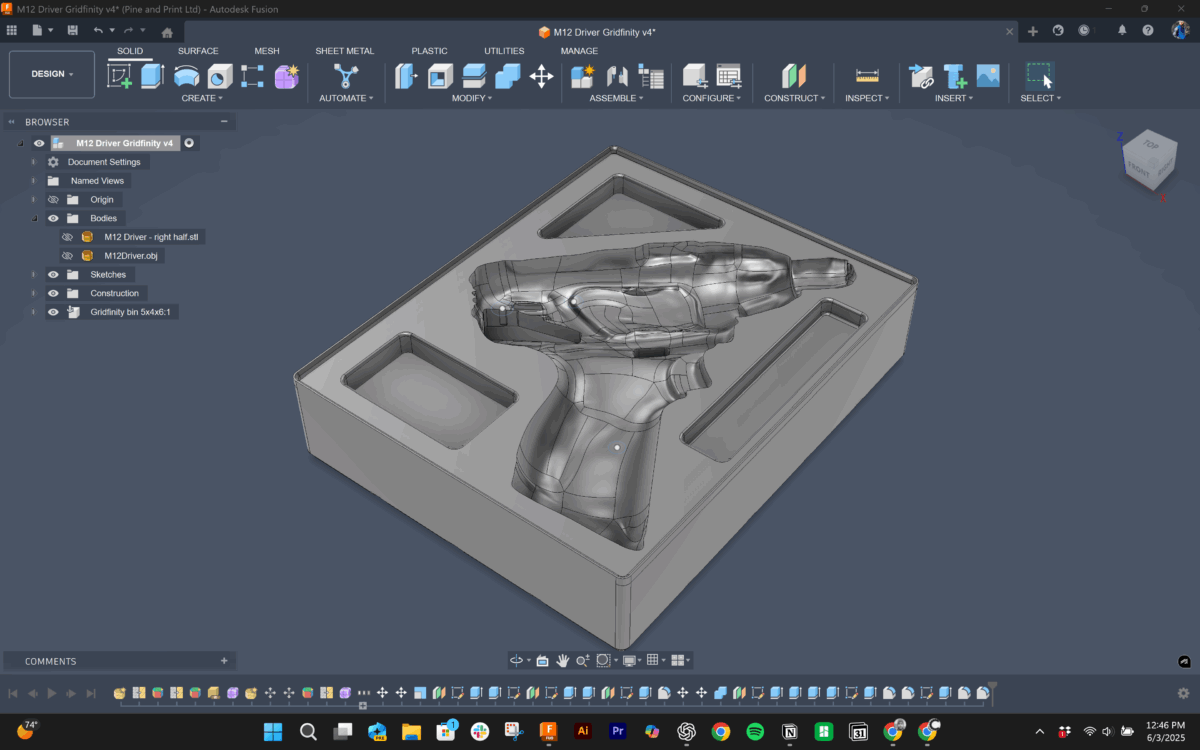
After scanning, I processed the data in Einstar’s software to generate a high-resolution mesh model. This digital replica was then imported into Fusion 360 to design a storage tray. Once finalized, I 3D printed the tray for a precise, secure fit.
The Final Result
The completed custom storage tray perfectly fits the Milwaukee rotary tool. Additional compartments store bits and accessories.
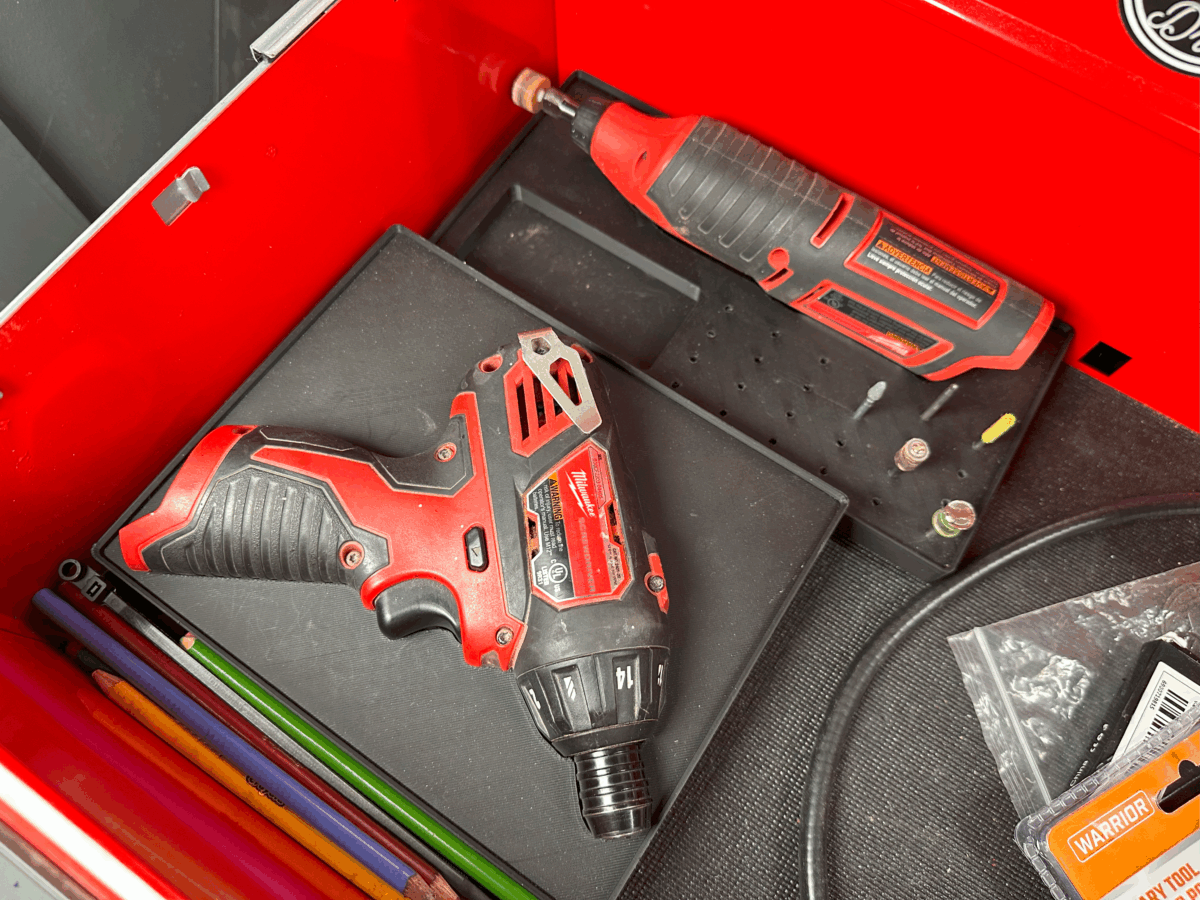
Encouraged by the success, I designed another tray for a Milwaukee battery drill. This workflow will help optimize storage for many more tools in the shop.
Why This Matters for Makers
For designers and builders, 3D scanning eliminates guesswork and improves precision. Instead of manual measurements, digitized objects enable accurate modeling. Engineers, hobbyists, and small business owners can leverage this technology for fabrication, prototyping, and organization.
Watch the Full Process
To see the entire process in action, check out my full video on Crafted With Machines! The video walks through scanning, modeling, and printing in real-time. Subscribe to my YouTube channel for more content on 3D scanning, CNC work, laser cutting, and digital fabrication techniques.
Want the files to print for your own shop? Head over to our Patreon to snag the files for Free.
Have you tried 3D scanning? Share your experiences and suggestions in the comments!