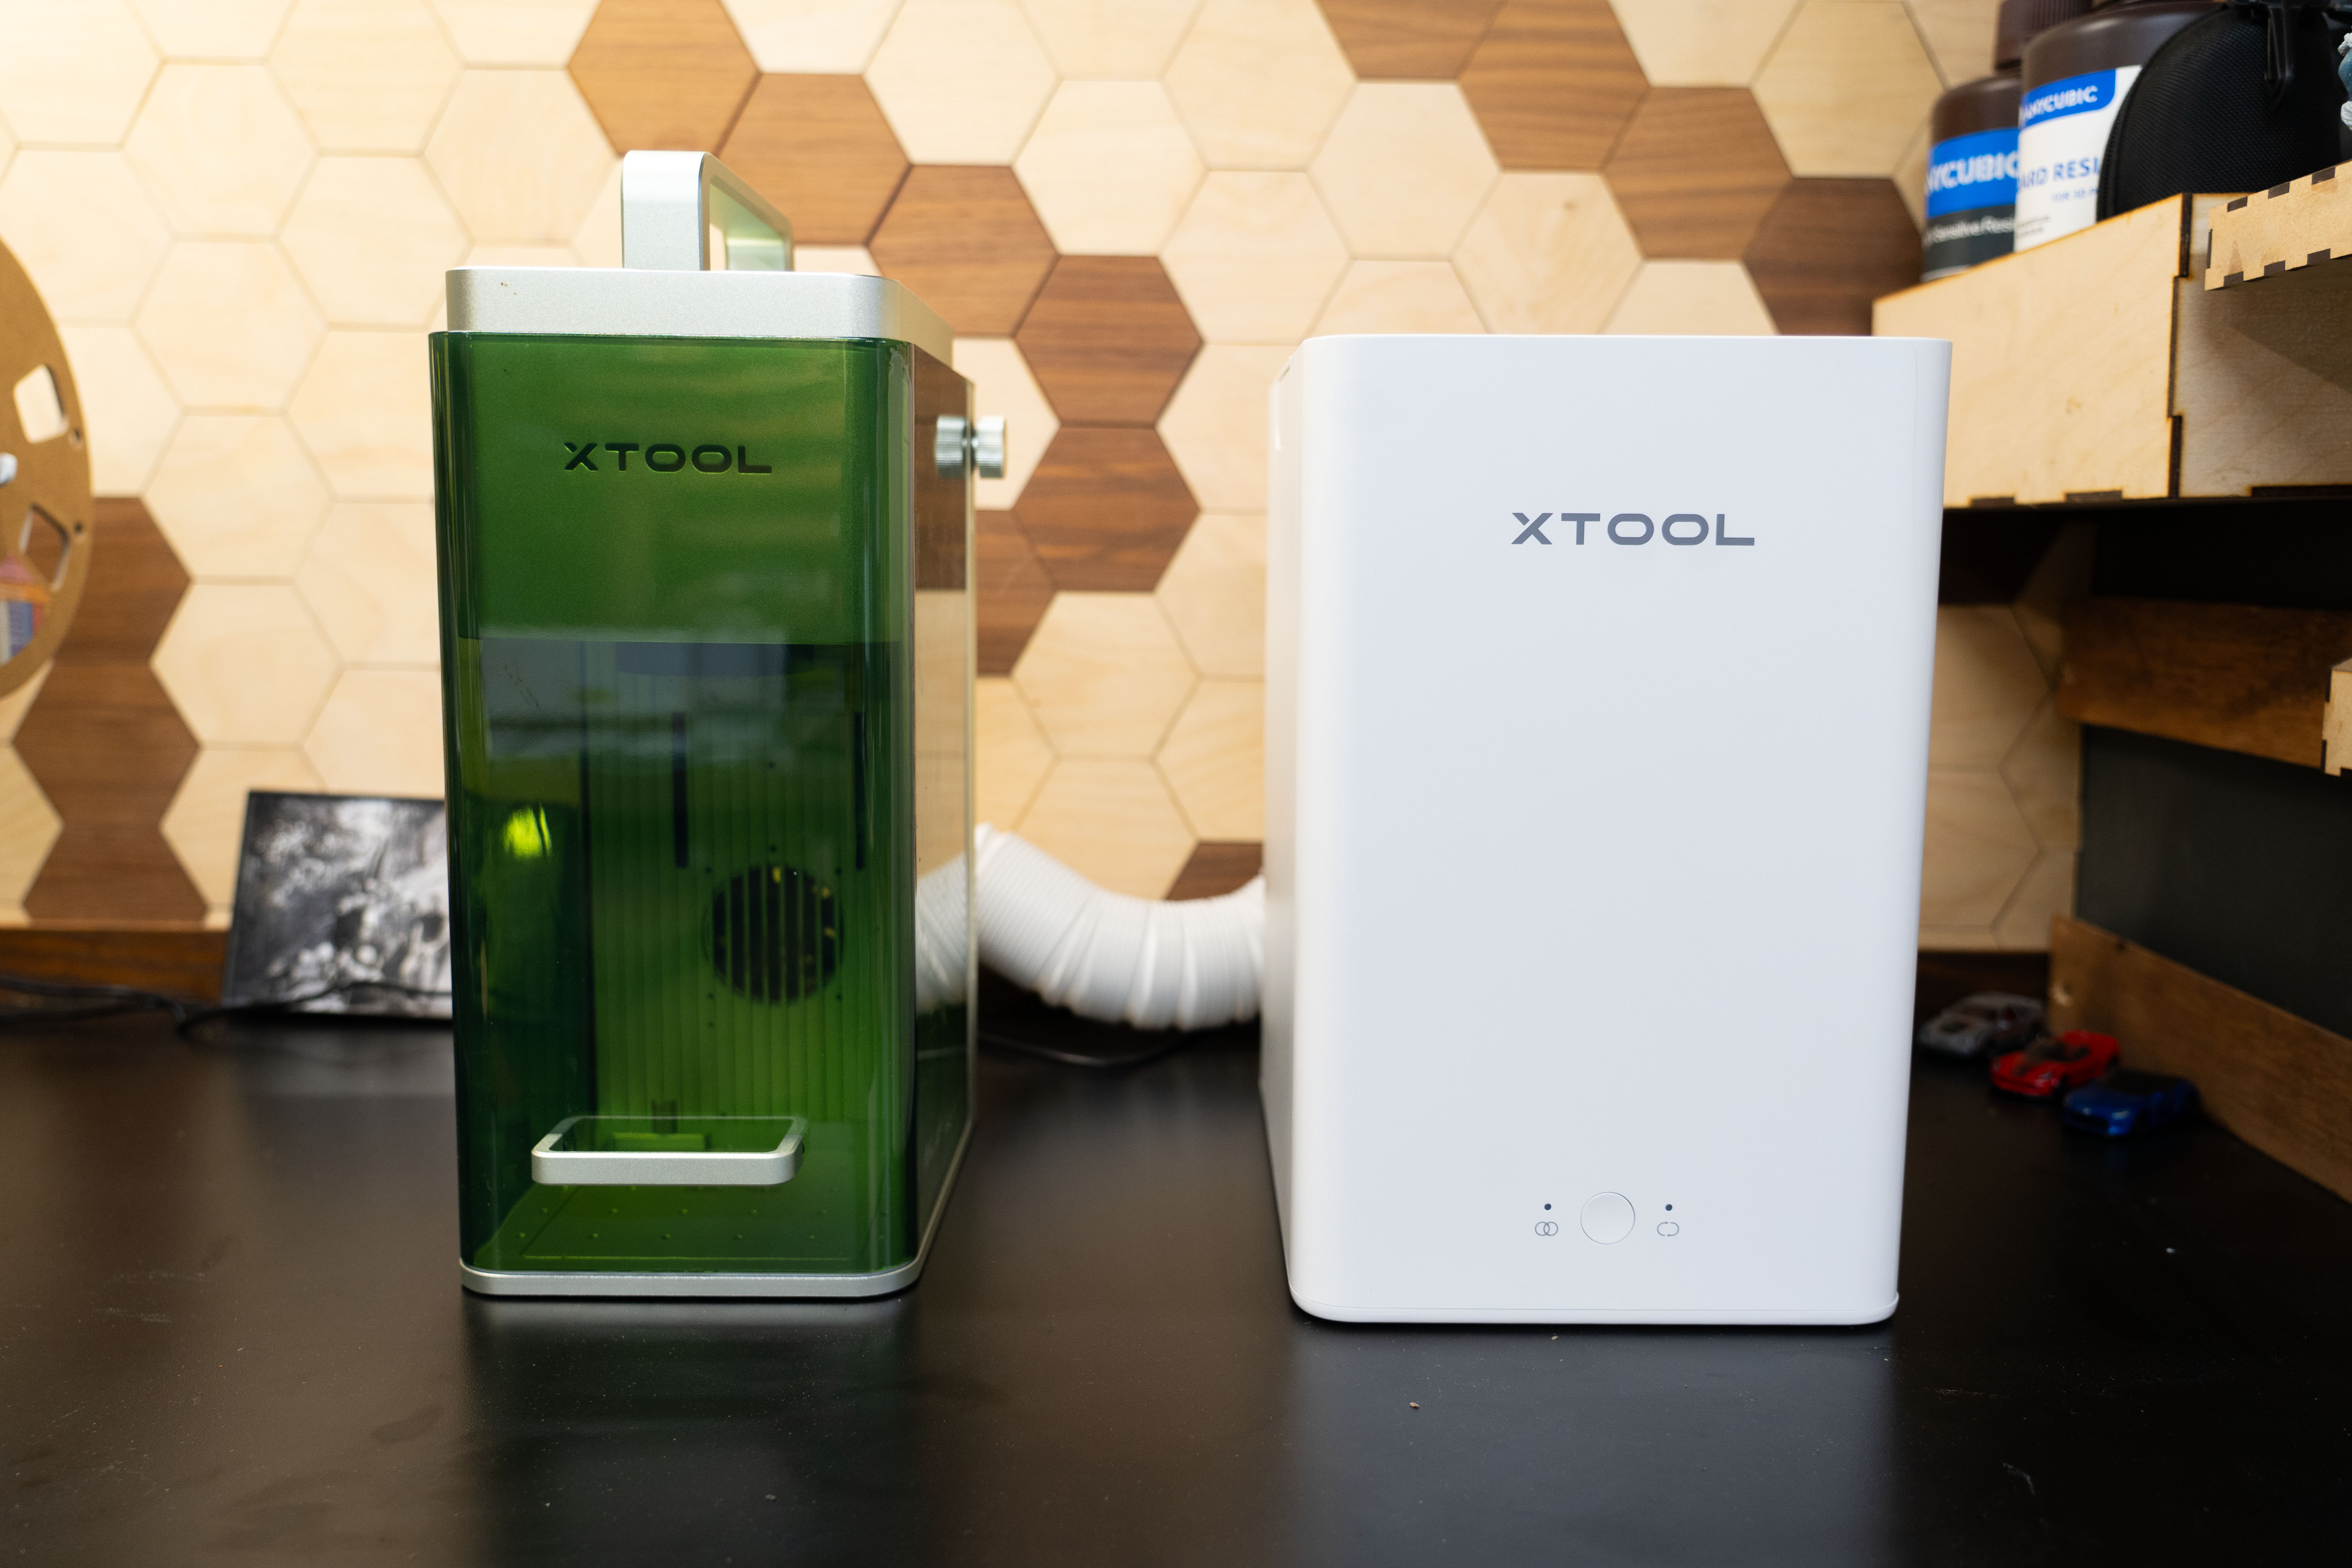
XTool F1 Deluxe Bundle: The Perfect Laser For The Mobile Maker
You’ve decided to dip your toes into the waters of 3D Printing? Whether you’re a hobbyist looking to create custom pieces or a professional seeking to prototype designs, 3D printing offers endless possibilities. In this guide, I’ll cover everything you need to get started with your first 3D printing project, including essential tips, recommended printers, and materials suitable for beginners.
What is 3D Printing?
3D printing, also known as additive manufacturing, is a process of creating three-dimensional objects from a digital file. The printer layers material, typically plastic, to build the object from the ground up. This technology is widely used in various industries, from automotive to healthcare, and has become increasingly accessible to hobbyists and home users.
Choosing the Right 3D Printer
For beginners, selecting the right 3D printer is crucial. This can mean the difference between an enjoyable learning experience, and a frustrating struggle that may discourage some people. Here are a few highly recommended models that are user-friendly, reliable, and affordable.
Bambu Lab A1: Despite being a newcomer, Bambu Lab has changed the game in terms of ease of use and affordability. The A1 is one of their newest machines, but also one of the most affordable and reliable full-sized printers on the market.
Bambu Lab A1 Combo – $489.00 at Bambulab.com
Prusa i3 MK3S: Prusa has been the gold standard in reliable 3D printers for nearly a decade, and boasts a large community of satisfied users.
Prusa i3 MK3S – $899.00 at Amazon.com
Creality Ender 3: Known for its affordability and high-quality prints, the Ender 3 is an affordable place to start, but is rapidly being replaced by better machines like the Bambu A1 due to the price and ease of use. If tinkering and learning the inner workings of a 3D printer sounds appealing to you, this is a great option.
Ender 3 V3 SE – $175.20 at Amazon.com
Essential 3D Printing Tips for Beginners
Start with Simple Projects: Begin with straightforward designs to get a feel for the printer’s capabilities. A Benchy is a great first model to print and an excellent way to see how well your printer is printing.
Use Quality Filament: Invest in good-quality filament to ensure smooth printing and better results. Brands like Overture and Polymaker have been some of my favorite.
Calibrate Your Printer: Proper calibration of the bed and nozzle is crucial for successful prints. This is becoming less necessary as printers become smart and more hands off.
Learn the Software: Familiarize yourself with slicing software like Cura, PrusaSlicer, or Bambu Studio, which converts your 3D model into printable layers.
Practice Patience: 3D printing can be a trial-and-error process, so be patient and keep experimenting. Part of the fun is learning.
Filament Types For 3D Printing
Suitable For Beginners
PLA (Polylactic Acid): PLA is the most common and easiest material to work with. It’s biodegradable and comes in various colors.
PLA+
PETG (Polyethylene Terephthalate Glycol): PETG offers more strength and flexibility than PLA, making it ideal for functional parts.
Advanced Materials
ABS (Acrylonitrile Butadiene Styrene): ABS is durable and heat-resistant but requires a heated bed and proper ventilation due to fumes.
TPU
NYLON
Step-by-Step Guide to Your First Project
Download a Simple 3D Model: Websites like Printables or Makerworld offer thousands of free models to choose from.
Slice the Model: Use slicing software such as Bambu Studio or PrusaSlicer to prepare your model for printing. Adjust settings like layer height, infill density, and print speed.
Prepare the Printer: Load the filament, level the bed, and ensure the printer is calibrated.
Start Printing: Begin the print and monitor the process to catch any potential issues early.
Post-Processing: Once the print is complete, remove it from the bed and perform any necessary post-processing, such as sanding or painting.
Conclusion
Embarking on your 3D printing journey can be incredibly rewarding. With the right tools, materials, and a bit of patience, you’ll soon be creating
